Have you recently added wallpaper to your space? Are your light switch covers ruining the aesthetic, or sticking out like a sore thumb? Using leftover wallpaper, you can easily upgrade those light switch covers. In this step-by-step guide, we'll show you how we used our leftover Ivy Cottage wallpaper to upgrade our light covers in just a few easy steps.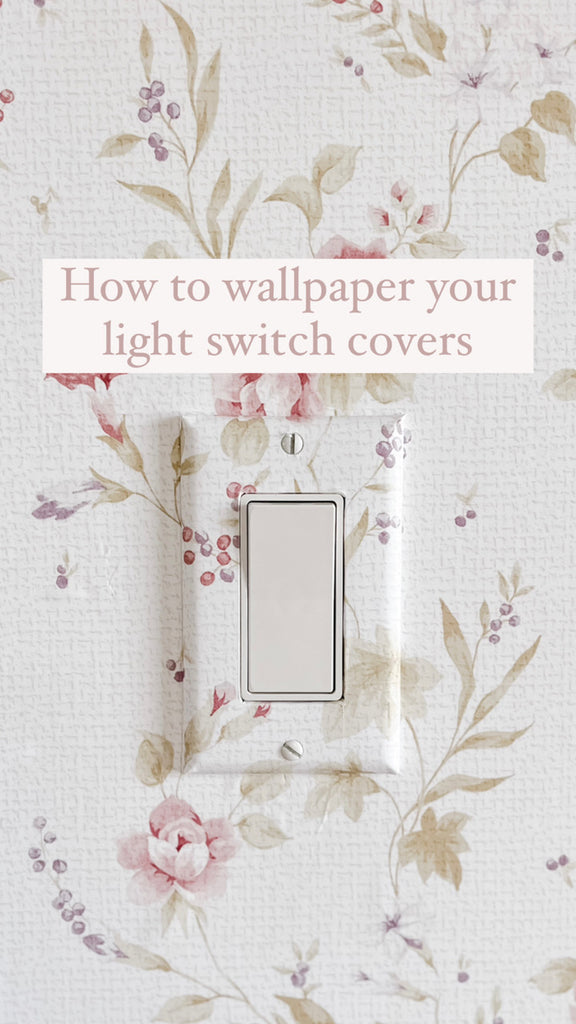
Materials You'll Need:
- Leftover Wallpaper
- Screwdriver
- Scissors or Sharp Utility Knife
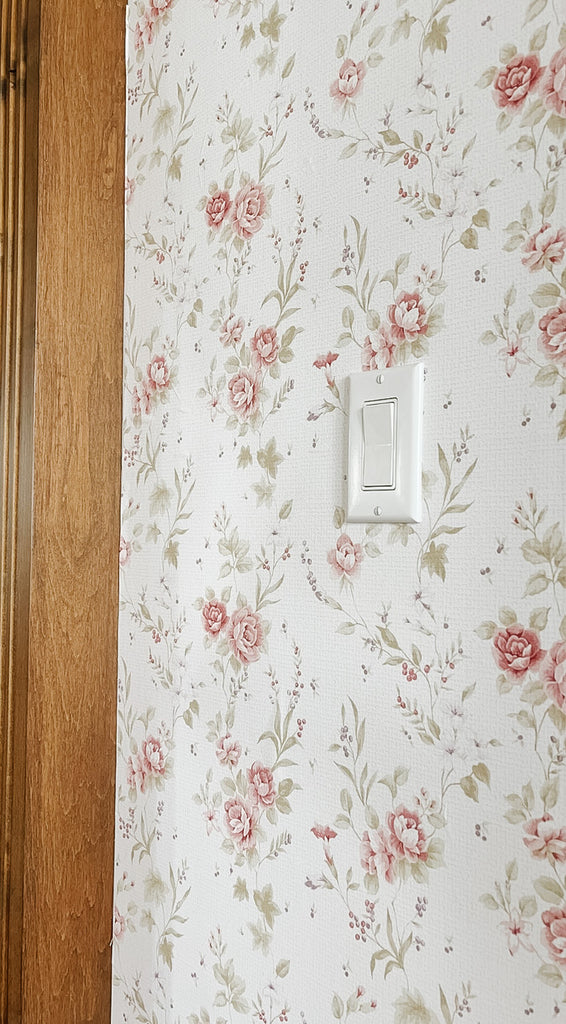
Step 1: Remove Screws
If you removed these during your initial wallpaper install – move to step 2!
Before you can start wallpapering your light switch cover, you'll need to remove it from the wall. Use a screwdriver to carefully unscrew the cover. Be sure to keep the screws in a safe place so you can reattach the cover later!
Step 2: Find a Matching Piece of Wallpaper
Look through your wallpaper leftovers to find a piece that matches and is larger than your light switch cover. If you don't have any leftover wallpaper, you can always purchase a sample. Carefully cut out the section of wallpaper you need, allowing at least half an inch overhang around the cover.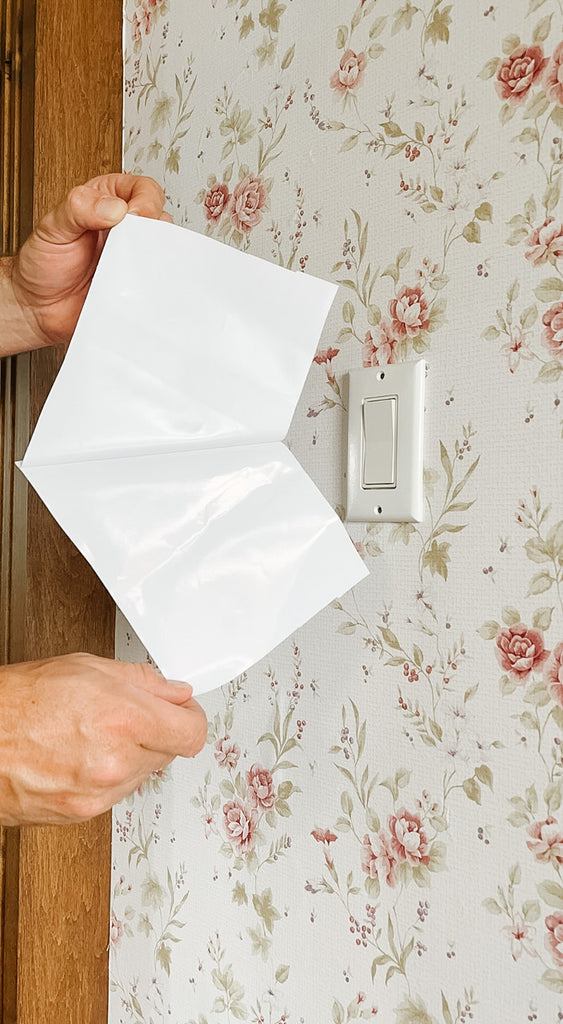
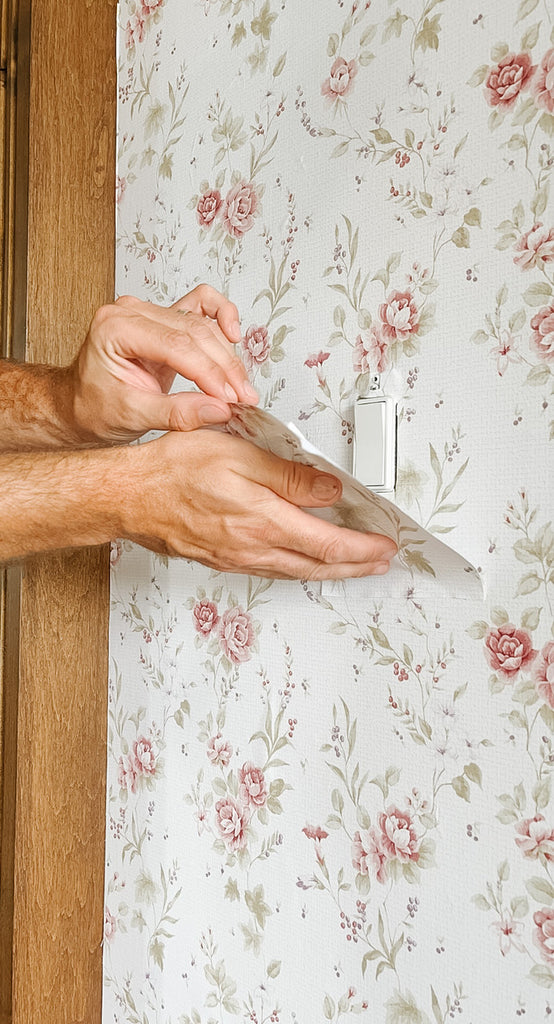
Step 3: Peel and Stick Where the Pattern Matches
Remove the protective backing on your piece of peel and stick wallpaper, and apply it to the face of your cover, making sure to align it with the part of the wallpaper pattern that you like.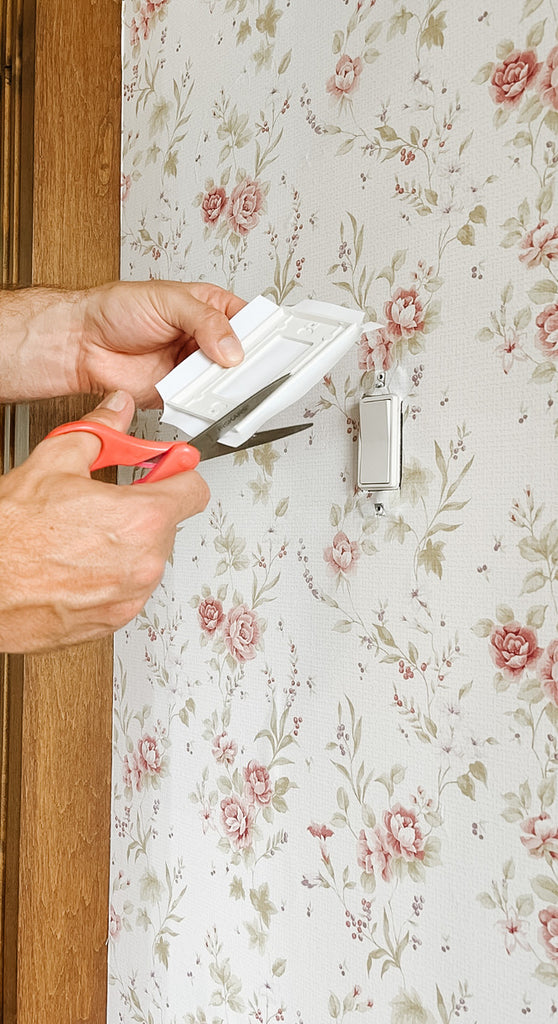
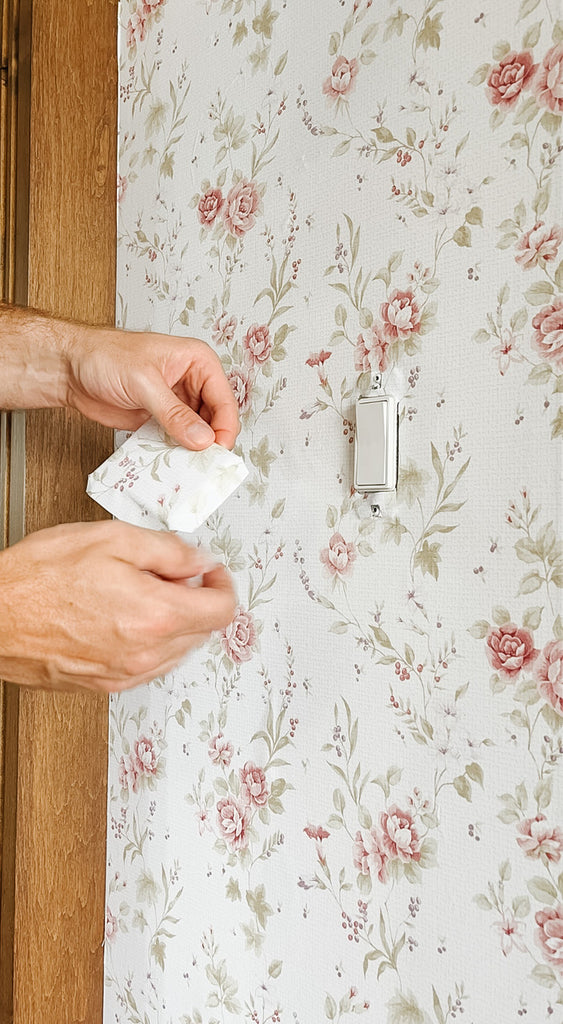
Step 4: Trim the Wallpaper and Tuck it Around the Cover
With the wallpaper attached to the light switch, use scissors to cut out a small section at each corner, so you can wrap/tuck the wallpaper onto the back side of the cover. If your light switch cover has screw holes, use your craft knife to carefully cut slits where the screw holes are located. This will allow you to easily reattach the cover later. You will also want to cut a small X shape in the center opening, then fold away excess wallpaper.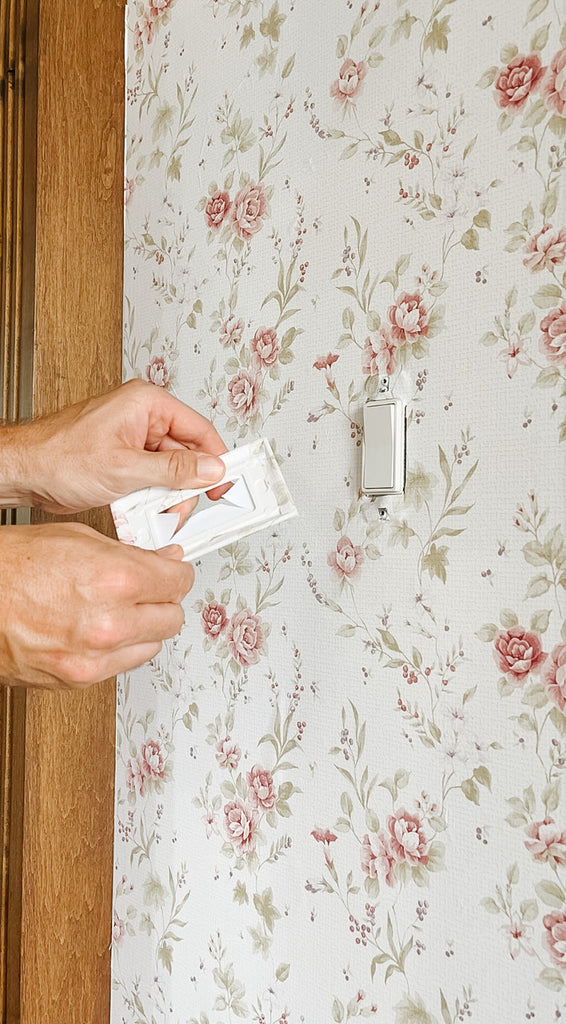
Step 5: Re-attach the Switch Cover
Now that your light switch cover is beautifully covered in wallpaper, it's time to reattach it to the wall!
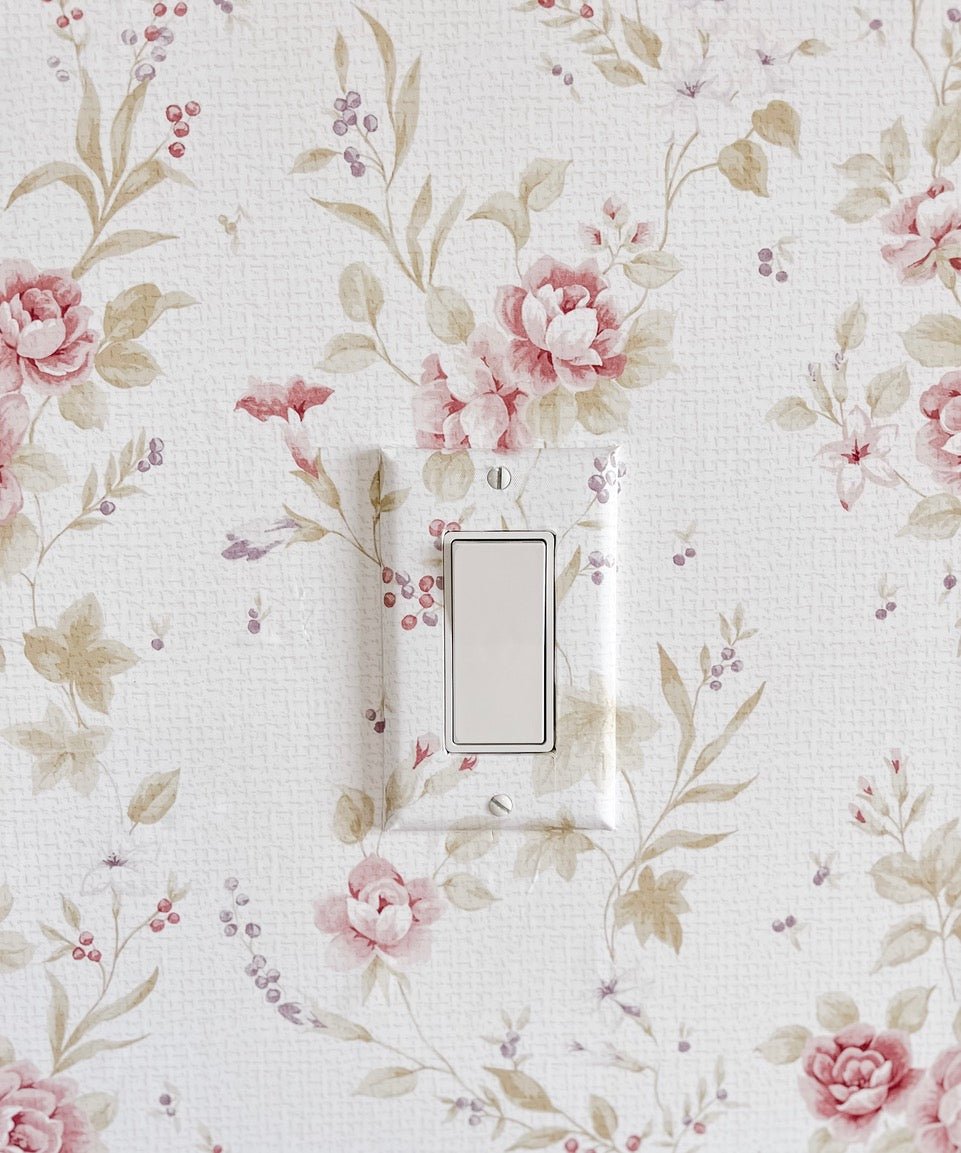
And there you have it! You’ve transformed your once-ordinary light switch covers into stylish accents that seamlessly blend with your wallpapered space! We love how leftover materials can be repurposed to enhance your décor. Happy decorating!